Nothing to lose really.

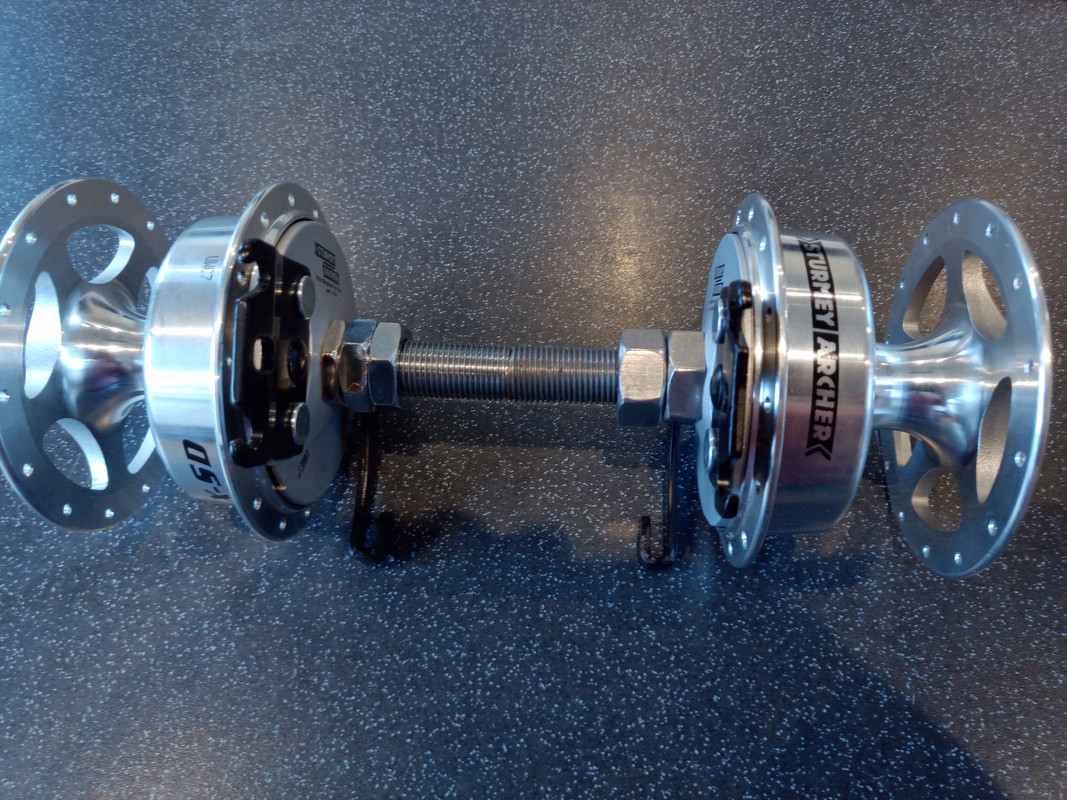
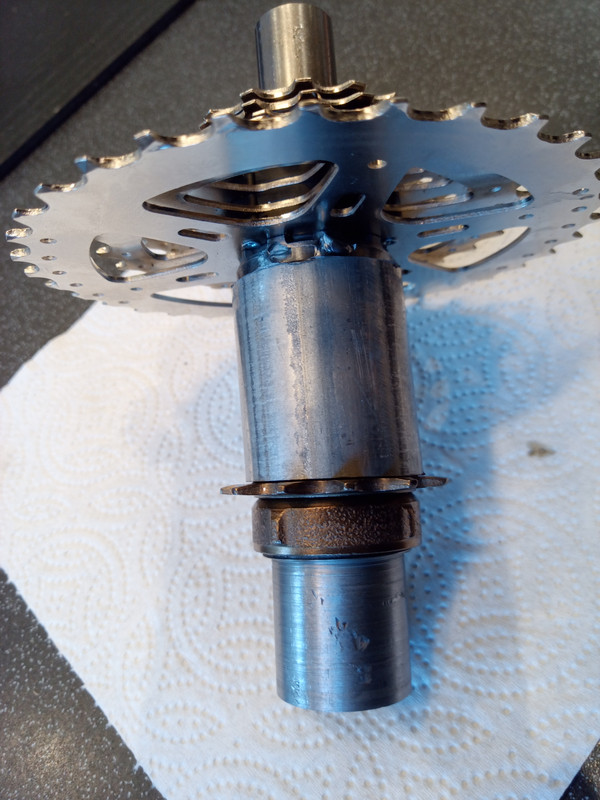
In yet another "break" from the Delta build I spent some time making a part you cannot buy for your Sturmey Archer Drum-Hub backplates.
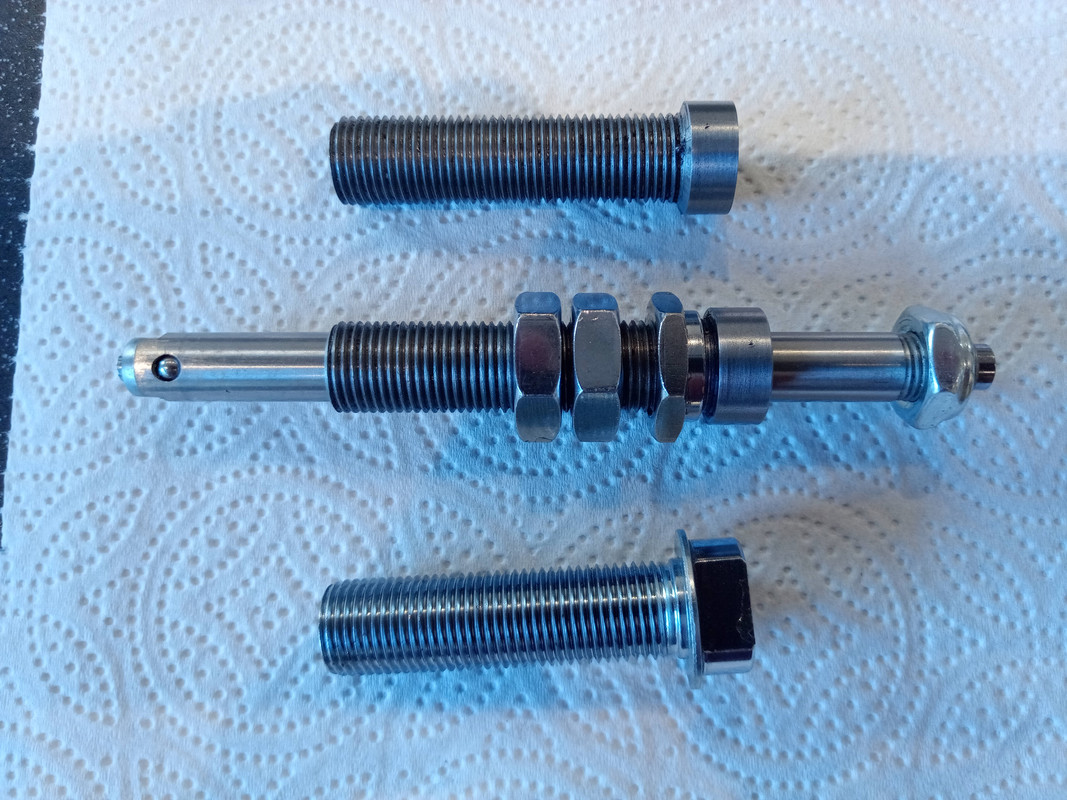
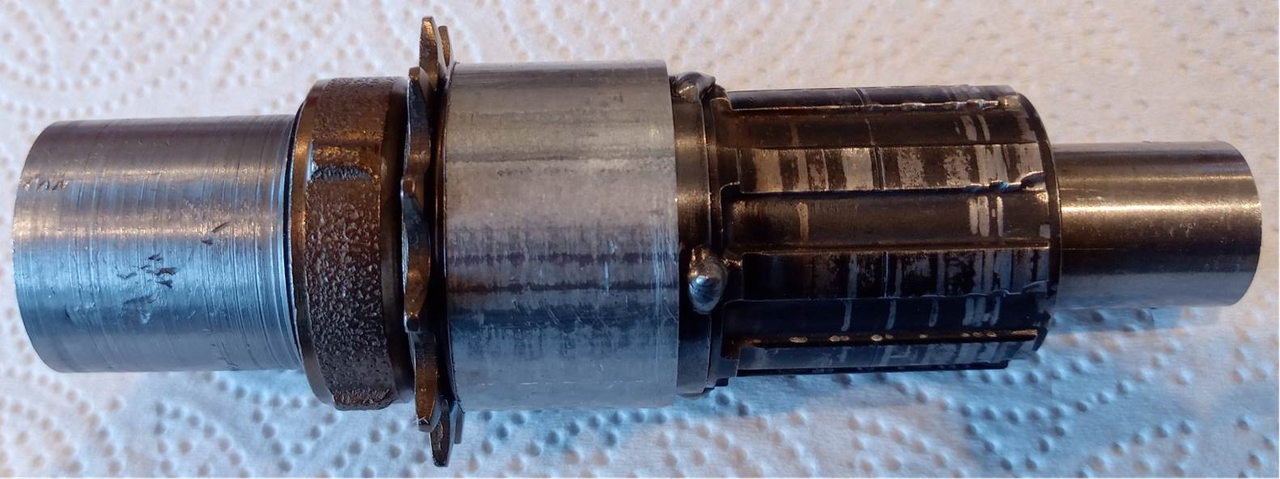
The backplates are common but the parts that fit either side of the backplate differ depending if you are using bolted-on hubs or "Quick-Release" pin attached hubs.
But you cannot buy the QR variant parts anywhere, from anyone. :(
I bent/broke one of mine and Paul (Stormbird) kindly swapped some he had in storage, for me buying him the non-QR components which bizarrely you can actually buy.

But, I have been buying additional SA Drum Hubs which have come without internals or backplate mounts, so I need to make some.

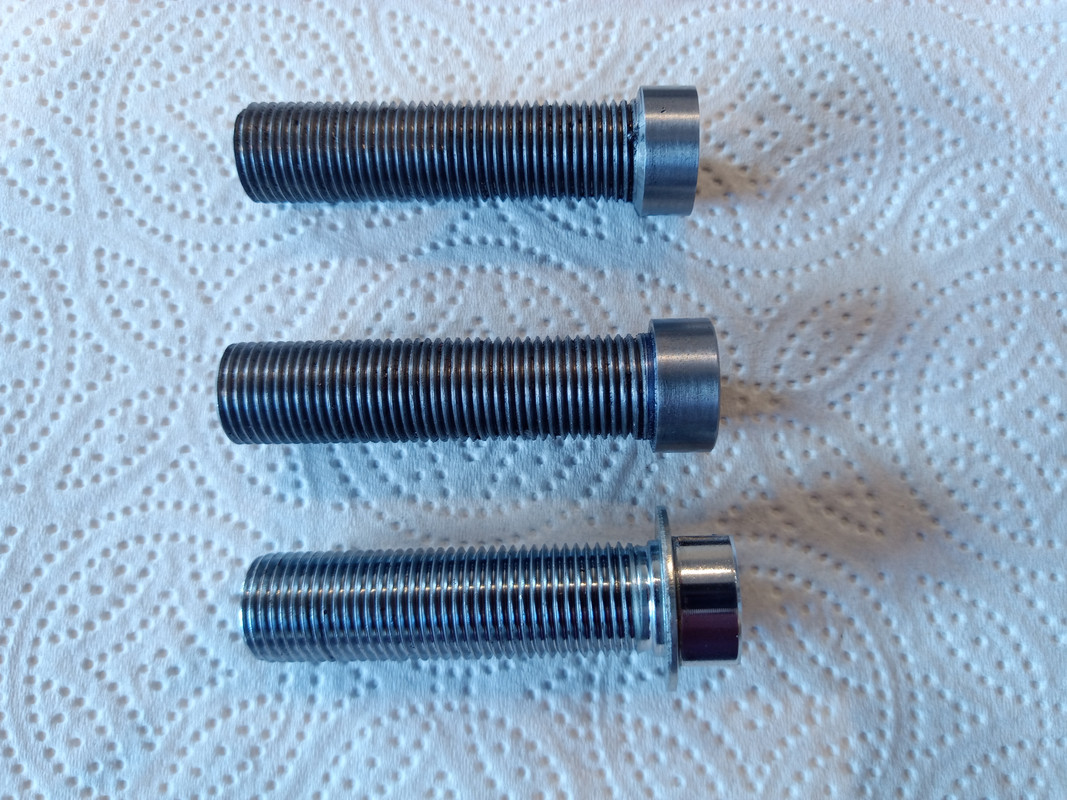
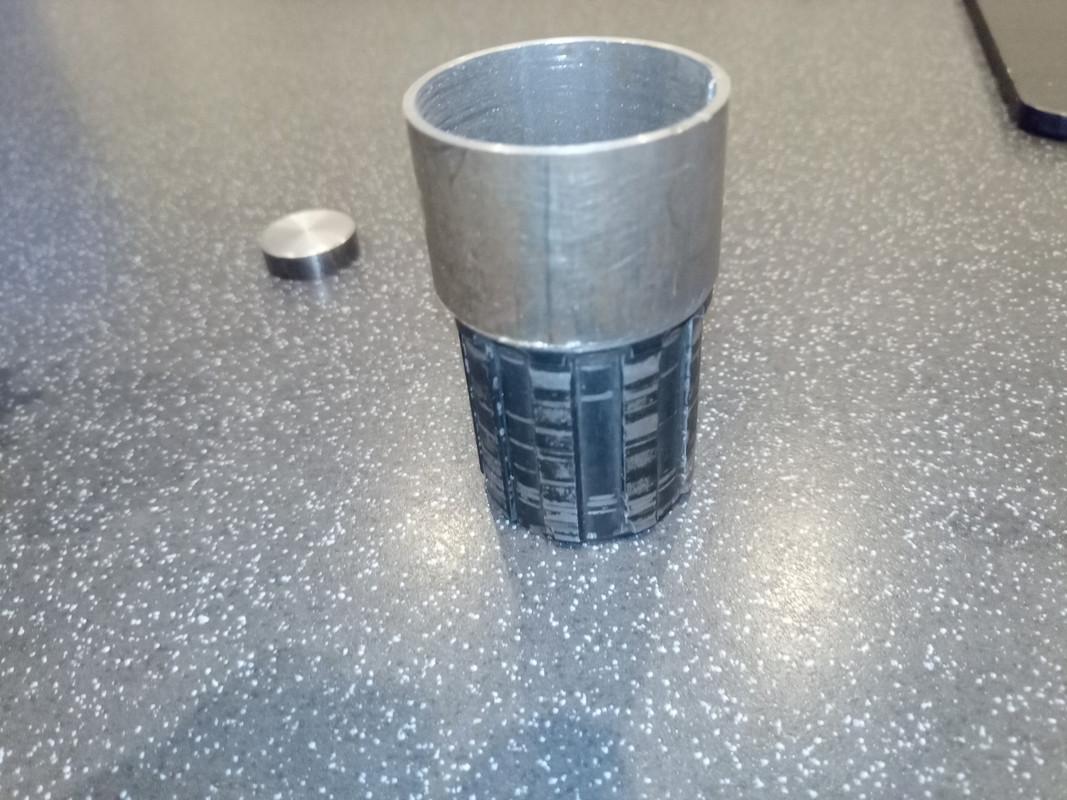
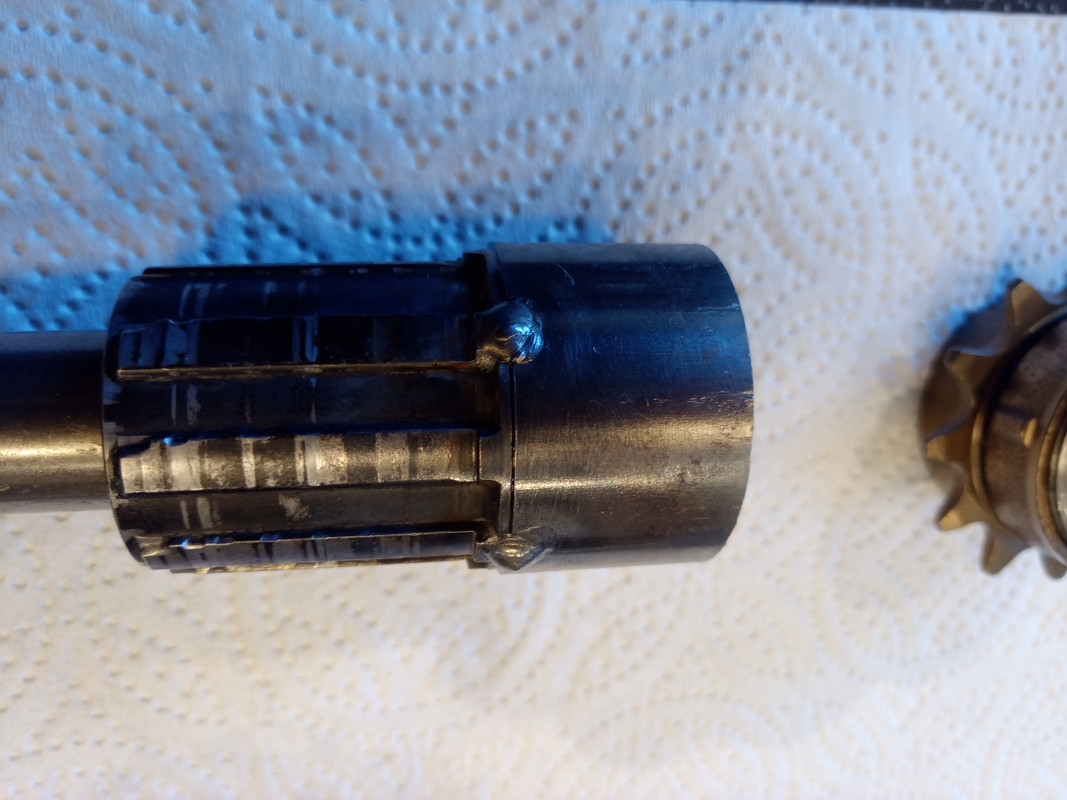
Today I completed the "awkward part" of the operation ... The threading of the rod which will be drilled out for the QR-Pin or M12 bolt.
Threading M16 Fine on a "Baby Lathe" which is underpowered and lacks rigidity is often fraught and punctuated with slipping belts and Anglo-Saxon epithets.

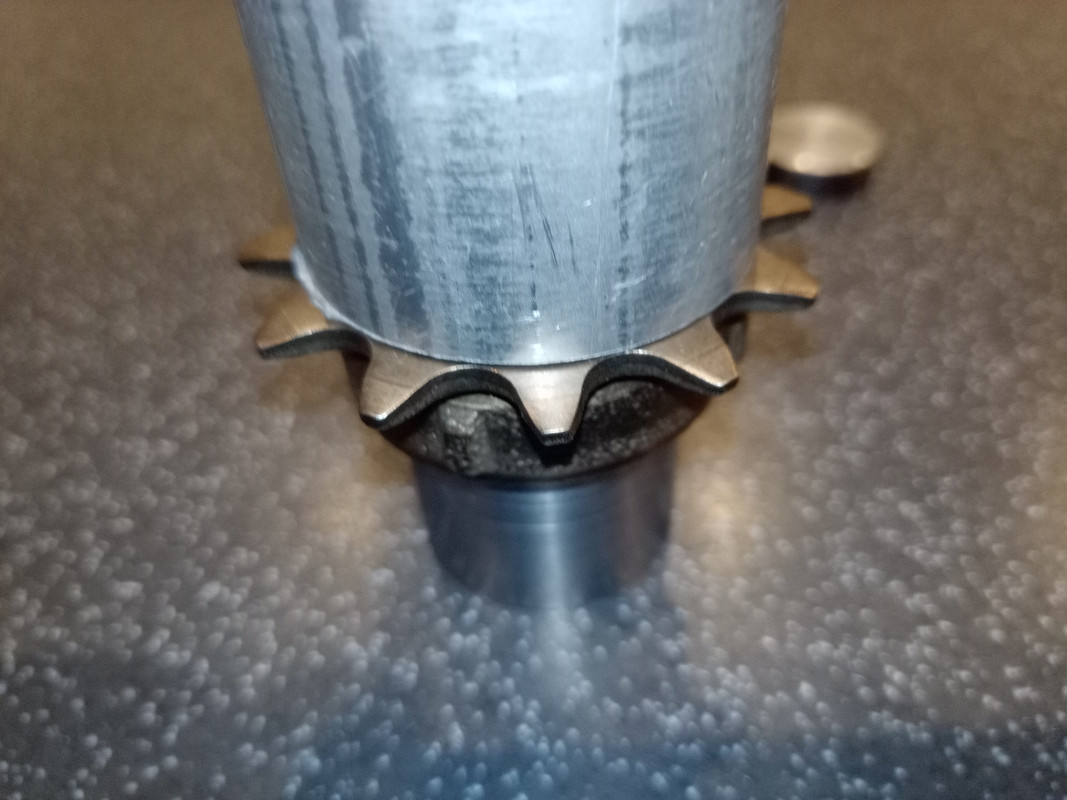
However, this first one was done OK and all that remains is to drill out the 12mm hole for the axle-pin/bolt and some flats on the internal hub end.

 
Hello peeps,

It has been a while.
I have been busy on all sorts of not AZ stuff but I returned to the manufacturing of the SA drum hub parts this week as it has been raining and just not fun out of doors.

Here are two SA QR back plate mounts that I made as a copy of an original.

The top one want a little bit of "tidy-up" on that LH face where you can see it has a slope instead of a flat.

IMG-20231103-120623-674.jpg


Here is one of my "home-made parts wearing the shop-bought accompanying bits from an SA original. :)

Same, but slightly different. I need to put the "flats" on mine as you have to tighten all the parts up against each other when you mount the backplates to your bike/trike.
Instead of an expensive (£40 each) QR pin, I shall make some adjustable silver steel pins with an "R-Clip" hole on the inside end.

IMG-20231103-120903-193.jpg
 
I received some Stainless nut's and washers that I had ordered for the hub's today.

Below is a picture of one of the hubs wearing the official Sturmey Archer parts, alongside the other one wearing the parts that I made on my lathe.
The first nut you see that is up against the backplate has a shoulder turned on it to a 19.5mm diameter and a depth/length of 2.5mm.
Centring the M16 SS nut in the 4-Jaw was interesting, but I was too lazy to swap the 4-Jaw out for the 3-Jaw.

The "all Sturmey Archer" one is on the left. The Hybrid Sturmey Archer/Clarke one is on the right. :)

I am pleased with how it has come out and I will make some more for other SA Hub's I have.

IMG-20231110-134857-973.jpg
 
Last edited:
A little side-note:
I had a discussion with Paul (Stormbird) earlier this year about 2WD units for the Pedal Cars.

You can buy commercial ones but they can cost about £400.

As some of you will know I have made a 2WD unit out of two Sturmey-Archer free-wheels; but it relies on an external IGH for any gearing.
I was given some parts to tinker with by Paul and I have had a mess about to see what I can come up with to construct a 2WD unit that incorporates a cassette carrier.
Derailleur gears are definitely a lot lighter than IGH gears.

Here are the parts (working from left to right):

This is a screw-on FWD unit with an adapter in it to accept a half-shaft. On top of it is resting a section of tubing that will be welded to the sprocket teeth.
The tubing is a snug fit to the body of the freewheel. The tubing will be trimmed to be much shorter.

IMG-20231117-162013-953.jpg


Inside the other end of this tubing goes another tube which is a snug-fit and the two tubes will be trimmed to make as short a "joining section" as is possible.

This "other" tube just happens to also be of the perfect size to be welded to a cassette carrier.
IMG-20231117-162033-172.jpg


The cassette carrier has its own internal freewheeling ratchet of course.
To transfer the power to the right-hand half shaft a shaft goes through the cassette carrier.
IMG-20231117-162049-290.jpg


On the end of this shaft is to be bolted a drive dog with 10 "teeth". These teeth engage in the receiver that is part of the internal ratchet mechanism of the cassette carrier.
IMG-20231117-162057-267.jpg


This is intended to produce as short a unit as possible so that the sprocket clusters on the cassette carrier can be removed/replaced and altered according to the anticipated gearing requirements.

It is only necessary to separate the two "sides"of the unit by a few millimetres to allow clearance for the two sides to run at different speeds independently.

All inputs & suggestions are very welcome. :)
 
Hi folks. Here is a little bit of further progress on that Cassette 2WD unit.

Despite a silly mistake that set me back a step, the application of a nice dollop of material deposited with the hot-metal glue gun and a bit of re-turning on the lathe has got me to here. :)

This homemade drive dog and securing bolt transfers drive from the cassette carrier to the RH output shaft.
The bolt is purposely off-centre as this prevents rotation from undoing the M5 bolt. There is sufficient room to drill a 4mm hole for a further "anti-rotation pin" through the plate and into the end of the output shaft.

IMG-20231126-141501-791.jpg
 
Further progress on the Cassette based 2WD unit.

I managed to drill another 4mm hole and put a section of roll-pin in it. 😊
IMG_20231128_144817_277.jpg


I welded a “close-match" bit of tube to the cassette carrier without too much trouble really. Do one/Miss one welds on the carrier (see picture below).
IMG_20231128_144948_973.jpg


The Tube that was attached will be trimmed down in length to be much shorter. And then another tube slid over it and the two tubes welded together. This is just to give me a size difference for either side of the 2WD unit.
This second larger diameter tube just happens to be the size that will slip over the other freewheels outer casing. 😊
This tube has not been trimmed/trued so it sits properly on the other freewheel yet.

IMG_20231128_145019_985.jpg


Again, the tube will get cut down in length in order to make the whole unit as short as possible.


Dan.
 
Nice
it is going to be so complicated to explain to someone else !
hope you remember how it works in a few months time

Paul
 
Nice
it is going to be so complicated to explain to someone else !
hope you remember how it works in a few months time

Paul
Ahh yes, well, errr, um.
Recipe:
1 piece of turned and threaded 20mm bar.
1 donated cassette carrier with internal ratchet (Ta Muchly).
1 Chinese screw on freewheel.
1 Adapter for the Chinese freewheel (lathe turned from 40mm round bar).

Essentially the tubes just lock the 2 outer cases of the freewheels together while the inner elements are connected to the half-shaft axles and can turn independently at differing speeds. :)
 
Back
Top