Continued from link
https://www.forum.atomiczombie.com/showthread.php/10694-A-New-Shed-For-Ed
https://www.forum.atomiczombie.com/showthread.php/10694-A-New-Shed-For-Ed
Last edited:


Can't wait to see that crazy hot-rod mockup come to life in the new digs!
Is it ok if I put a link here from you old thread?
I am going to ask members to do that to aid in the soon to happen archive of the old forum.
Cheers,
Brad


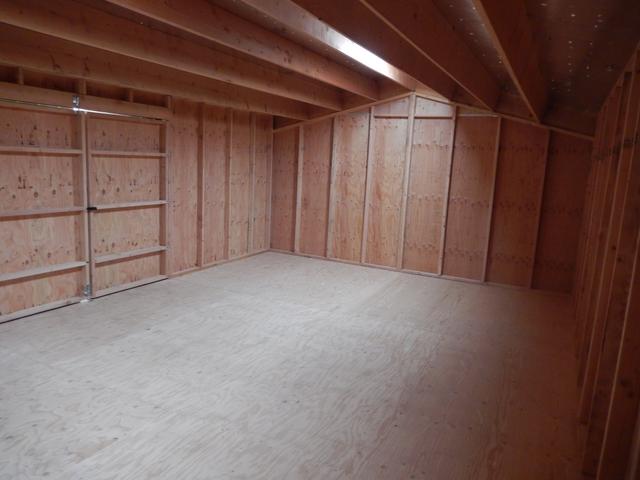
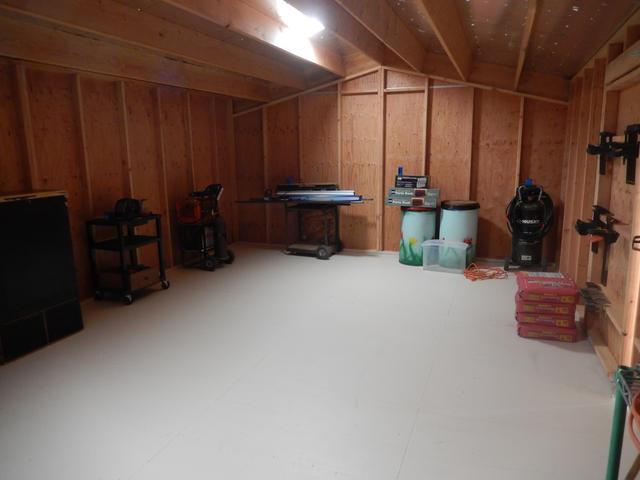
Just think, Ed. Once painted, any work whatsoever inside will start it on the journey towards being like everyone else's: untidy, overflowing, no room, etc., etc. Ah well, you could always build another.
 I think there's a miscommunication here .


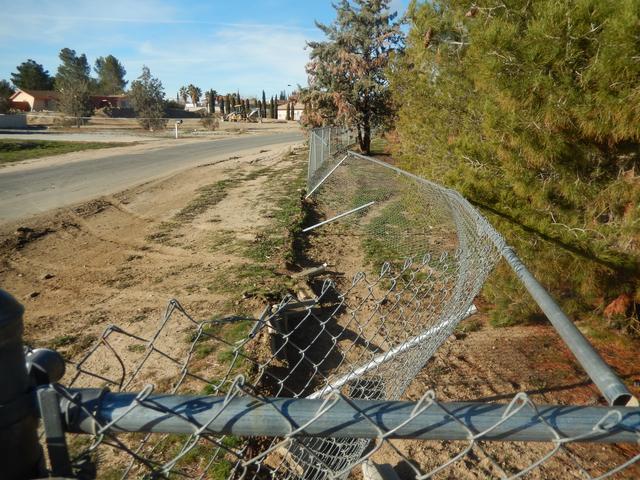
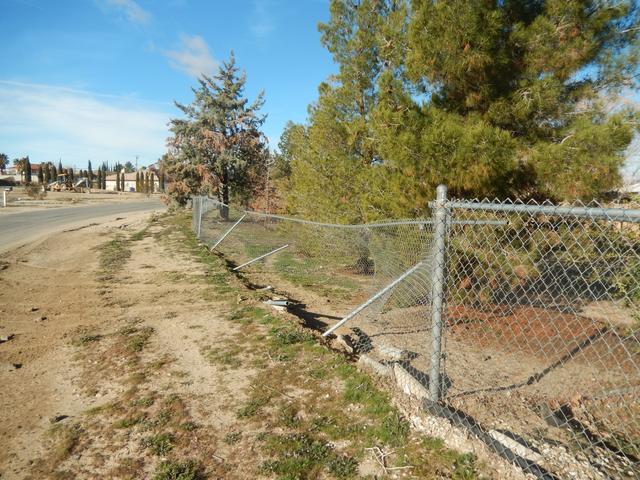
I do hope the errant driver called in to say sorry and that his insurance is paying for the repairs Ed.
YUP, it was a 'hit and run'Ditto what Danny said! Hope it wasn't a hit & run!
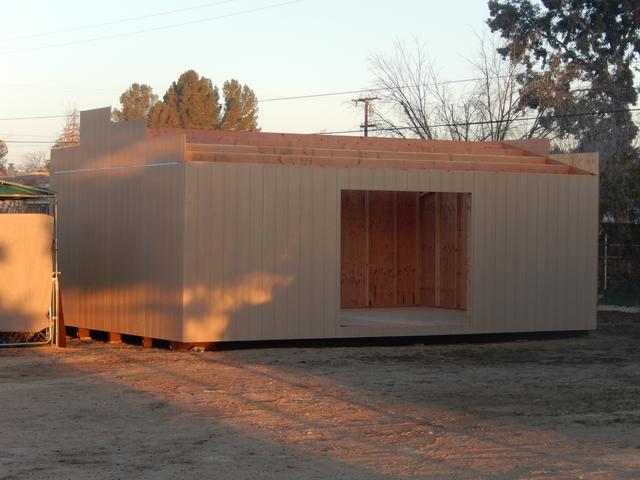
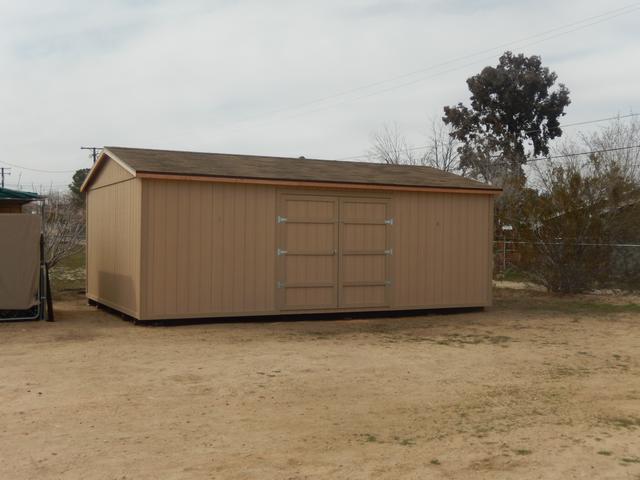
Shed looks GREAT!!! Man, I'm SOOOOO envious! Happy for ya, bro!
***

 Don't you think ?

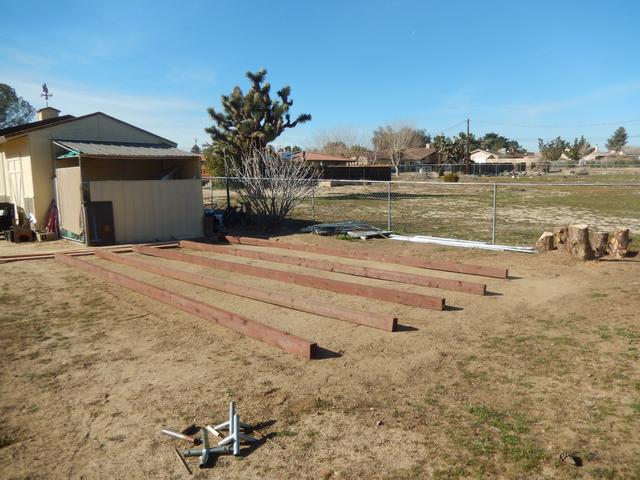
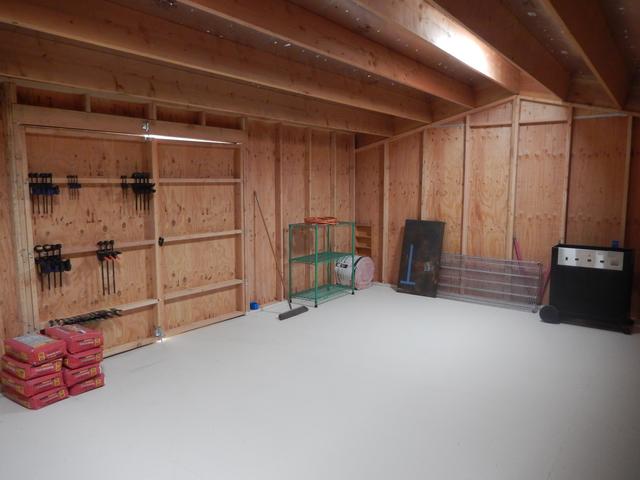
Interesting design. I have never seen lengthwise joists like that before.
Brad
